How to Setup DKIM for Zendesk?

DKIM uses cryptographic signatures and public-key infrastructure to verify that an email message has not been altered during transit, and that it truly came from the claimed sender. Email senders can use DKIM to sign their messages by adding a DKIM-Signature header field to the messages. Email receivers can then use the public key published in the DNS to verify the signature and check that the message has not been tampered with.
How can I set up a custom domain for DKIM on Zendesk?
- Open your Zendesk account and log in.
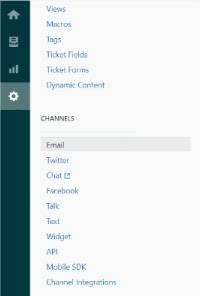
- Go to Administration > Channels > Email.

- Go to “Custom domain for DKIM”. Here are the 2 CNAME entries for selectors zendesk1 and zendesk2 that should be added to your domain’s DNS.
- According to the two CNAME records, zendesk1_domainkey.yourdomain.com would point to zendesk1_domainkey.zendesk.com and zendesk2_domainkey.yourdomain.com would point to zendesk2_domainkey.zendesk.com

- Log in to the management console of your domain registrar.
- Post the two CNAME records in the DNS for your domain.
- Return to Zendesk and simply choose the “Enable” button in the “Custom domain for DKIM” section once the entries have been published in your DNS.
- To create your unique domain for DKIM on Zendesk, click “Save.”

With this, DKIM has been successfully configured for Zendesk.
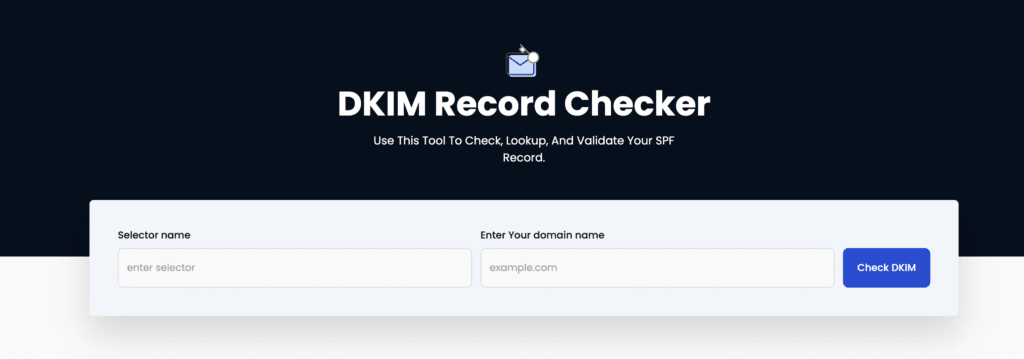
Using our free DKIM checker tool, you can check and confirm your domain’s DKIM record.

You can use Skysnag’s free DKIM Checker to check the health of your DKIM record here
Enable DMARC for your domains to protect against spoofing. Sign up for a free trial today!
For more information on Zendesk DKIM setup, you can refer to their reference documentation


