
How to Set Up DKIM for JangoMail?
October 11, 2023 | 2 min read

DKIM uses cryptographic signatures and public-key infrastructure to verify that an email message has not been altered during transit and that it truly came from the claimed sender. Email senders can use DKIM to sign their messages by adding a DKIM-Signature header field to the messages. Email receivers can then use the public key published in the DNS to verify the signature and check that the message has not been tampered with.
You should enable DKIM signing for JangoMail because it supports DKIM authentication. Let’s find out how to do that:
How to Activate DKIM Authentication for Jangomail
- Go to JangoMail and log in.
- Go to Settings > Sending and Receiving DomainKeys/DKIM.

- Then select “Add New Item.”
- Put in your domain. Start by providing your domain name to get started.
- Make a DKIM selection configuration for your domain.
- Click “Save”
- You must select the View Keys icon next to your domain in order to see the DKIM keys or TXT records.

- Your DKIM keys are displayed in a new window that appears.
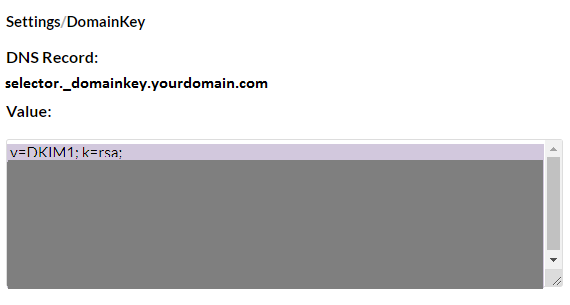
- In your DNS, copy the hostname and the DKIM record values.
- After the DNS saves the modifications to your published records, return to JangoMail and enable DKIM signing by clicking the Enable symbol next to your domain.
Use our free DKIM record lookup tool to validate the published DKIM record.
Enable DMARC for your domains to protect against spoofing. Sign up for a free trial today!
For more information on JangoMail DKIM setup, you can refer to their reference documentation
You might be interested in reading:


