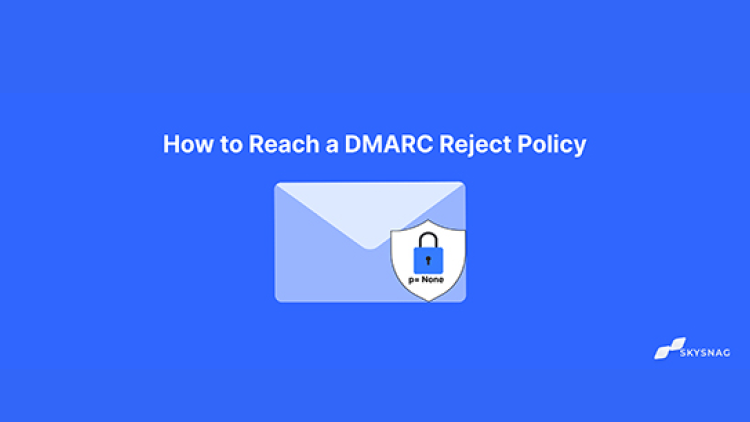
How to Reach a DMARC Reject Policy

In this article, we provide you with a step-by-step guide on how to enforce the DMARC policy and discuss whether it is always desirable to enforce the DMARC policy to reject. It may be helpful to learn more about DMARC policies and how they work before getting started, so go ahead and check out our other blog posts on DMARC, SPF, and DKIM.
What are DMARC policies and how it impacts deliverability
There are 3 DMARC Policies: none, quarantine, reject. For more information please check our article What is a DMARC Policy.
Before considering p=reject, you have to have some insight into your emails. The ‘none’ policy provides insight into the email channel and allows organizations to start working on correctly authenticating the sources that send out emails on their behalf. The “none” policy will just monitor the emails sent from your domain and send you reports. This way, you can figure out which sources are authentic and which might not be, without affecting deliverability.
Steps to Reach a DMARC Reject Policy
1. Begin monitoring your domain with DMARC.
Create a Skysnag account to generate your DMARC record. This allows you to receive DMARC reports without impacting your mail flow.
NOTE: If you already have a static DMARC record, replace it with the generated Skysnag record, this will allow you to automate the enforcement and management part of email authentication and the DMARC record.
If you bought your domain through GoDaddy or Cloudflare, Skysnag offers an instant setup. This means you don’t have to touch your DNS settings; Skysnag will automatically do it for you. After logging in to Skysnag, add your domain and follow the instant setup steps.
2. Set your DMARC policy to p=none
The next step is to set your DMARC policy to p=none. This allows you to receive DMARC reports without impacting your mail flow. The ‘none’ policy provides insight into the email channel and allows organizations to start working on correctly authenticating the sources that send out emails on their behalf. The ‘none’ policy, will just monitor the emails sent from your domain and send you reports. This way, you can figure out which sources are authentic and which might not be, without affecting deliverability.
3. Collect DMARC reports
The next step is to collect DMARC reports. These reports will provide the information needed to configure your SPF and DKIM. Skysnag provides users with free DMARC reports.
4. Configuring SPF and DKIM
Skysnag automatically configures SPF and DKIM for you saving you the trouble and time required for manual configuration.
5. Set your DMARC policy to p=quarantine
We advise enforcing the policy in small steps using the percentage tag (pct) in the DMARC record. For example, begin with a 15% quarantine policy, then increase to a 50% quarantine policy, then move to a 15% reject policy, and finally enforce the DMARC policy to full reject. Taking small steps allows an organization to enforce the DMARC policy while the risk of impacting the delivery of valid emails is minimized.
To set your DMARC policy to p=quarantine, log in to Skysnag and edit your DMARC policy. In the Policy section, select Quarantine from the dropdown menu. Once you have made this change, click Save.
- Continue Monitoring your DMARC reports: this will help you determine whether your SPF and DKIM records are correctly configured. It will also show you which messages are being sent to spam. To view your DMARC reports, log in to Skysnag and click on the Reports tab.
- Set DMARC to p=reject Once you have configured SPF and DKIM for your domain, the Skysnag Automated system will turn on the reject policy, making sure that all authenticated emails are delivered to the customers’ inboxes and the ones failing being blocked.
Conclusion
Skysnag’s automated DMARC solution strengthens protection against phishing and spoofing by confirming that an email message came from the domain it claims to have come from. Get started with Skysnag by signing up using this link for a free trial.


